
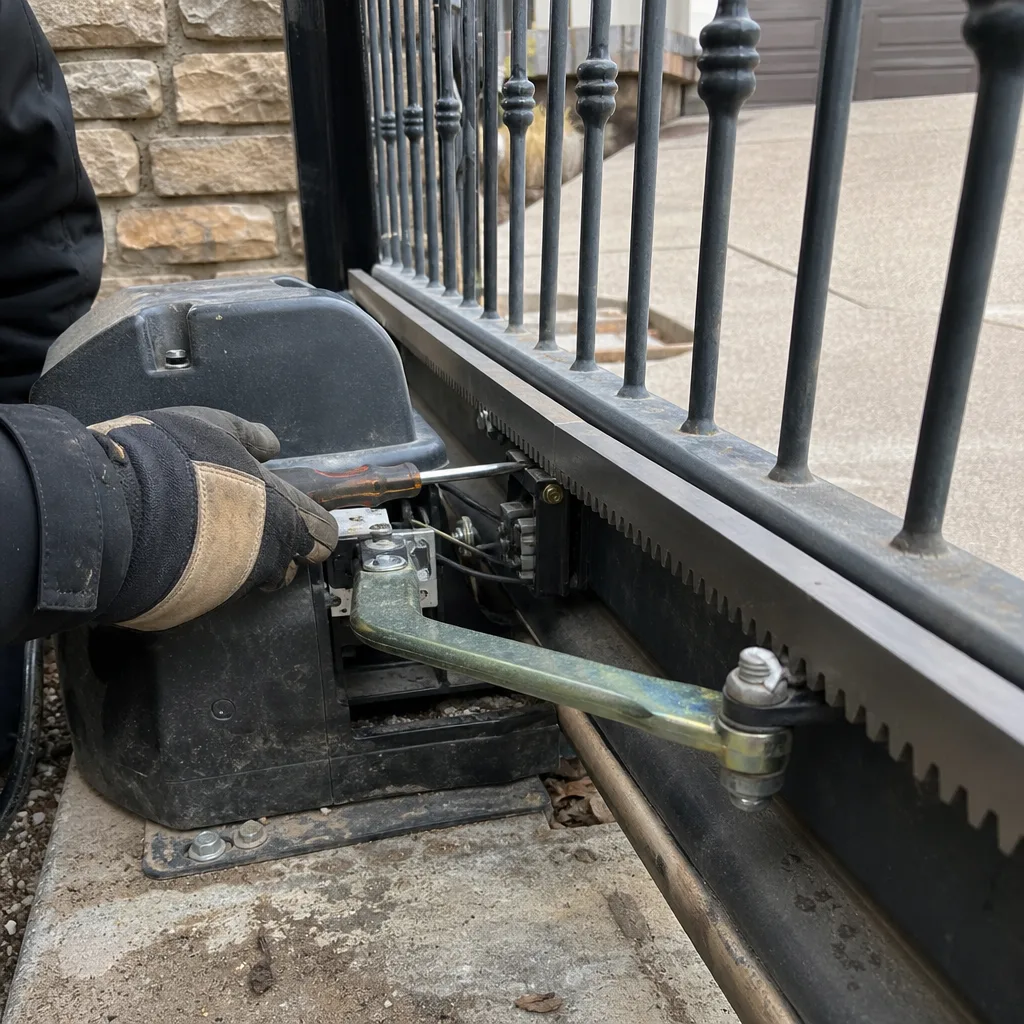
Last updated November 15, 2026
 Wrought iron
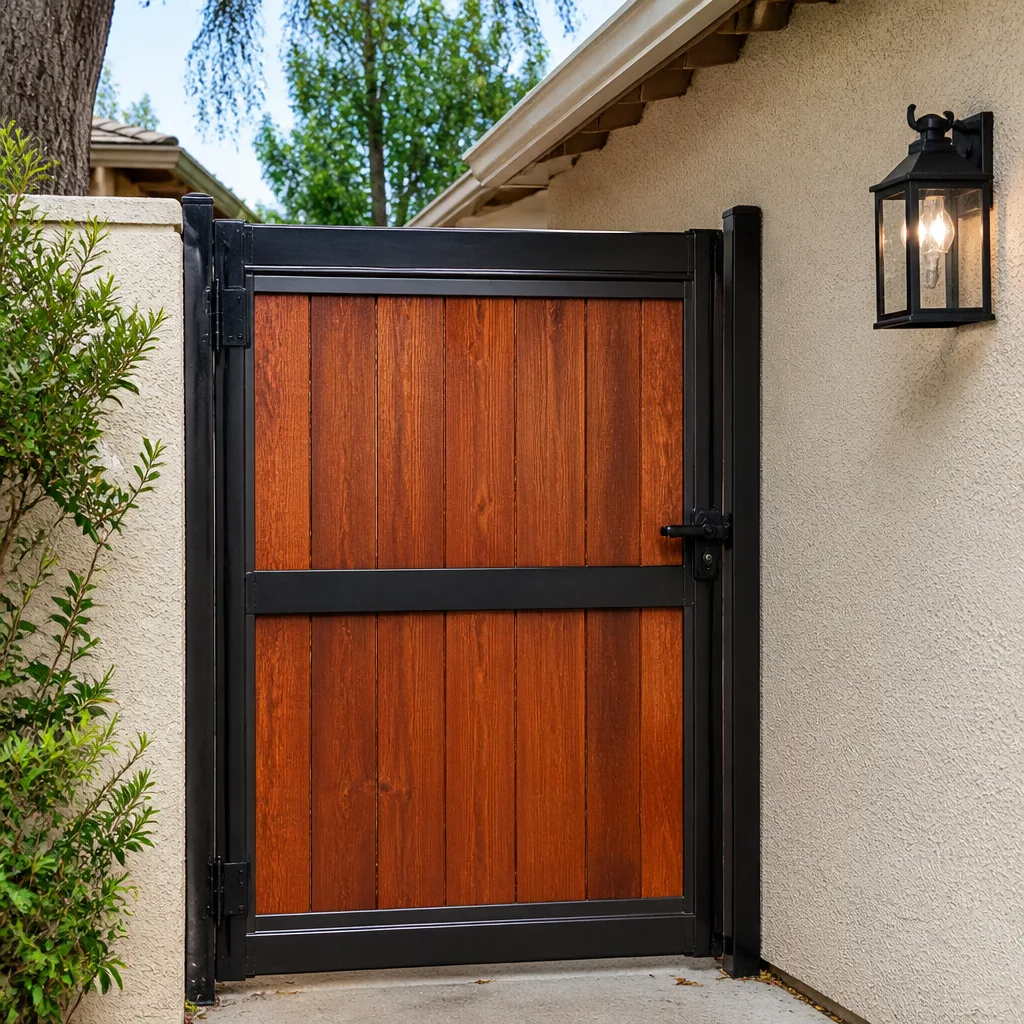 Wood & steel frame
 Farm & ranch
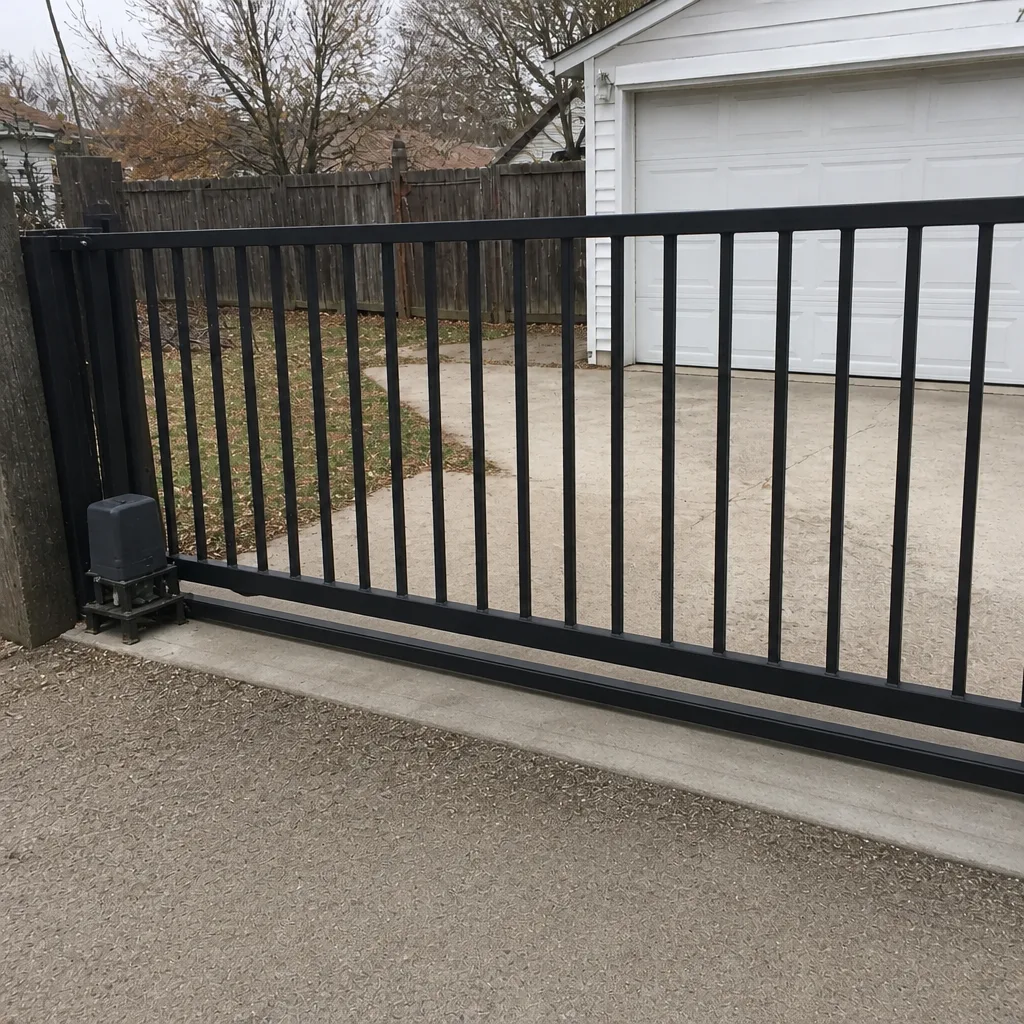
 Sliding driveway gates
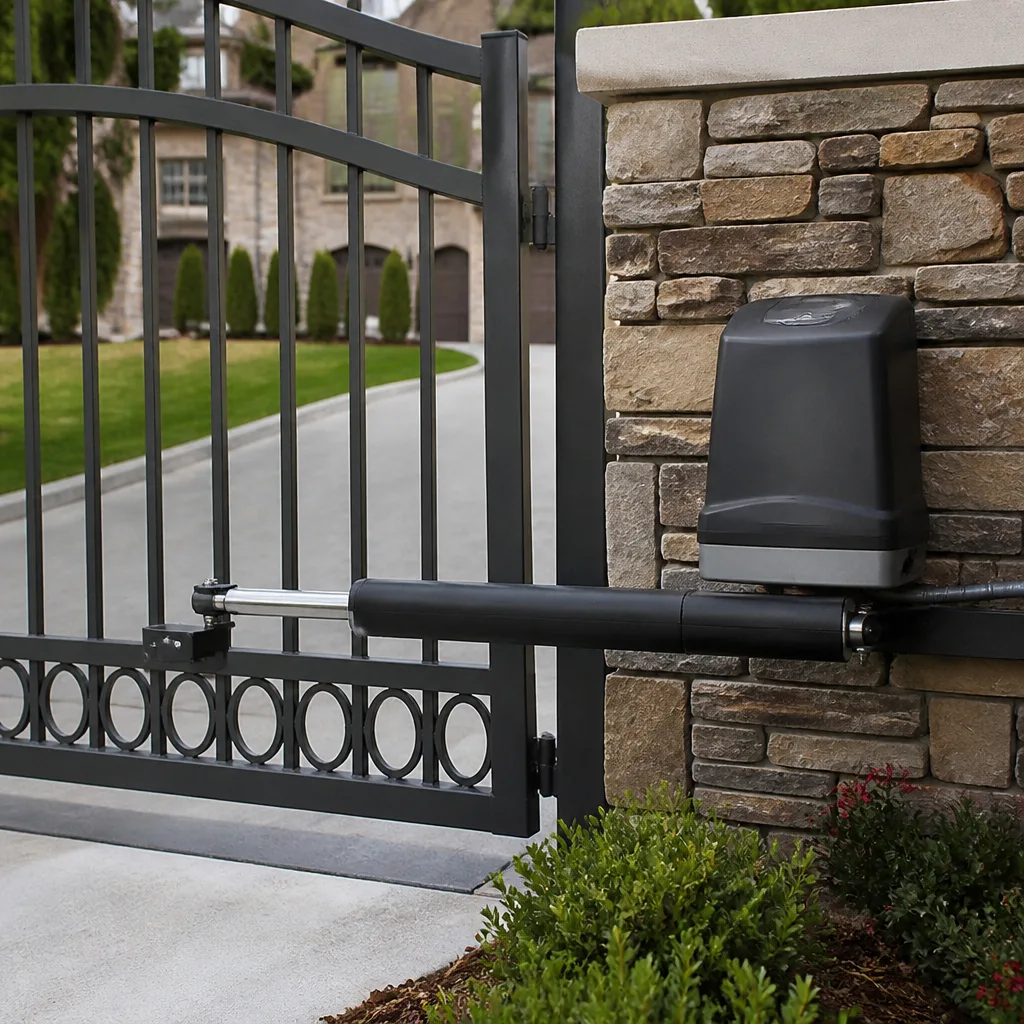 LiftMaster operators
Free on-site gate assessment - hinges, posts, and your LiftMaster or Nice gate operator checked before anything is quoted
The assessment is free and the quote is the invoice.
Get your free estimateGate Repair Maintenance Checklist for Thornton Homeowners
Most gate maintenance advice you’ll find online was written for a mild coastal climate, then copied onto every other site. Thornton isn’t that place. Freeze-thaw soil cycles, alkaline municipal water, and high-UV summers put different stress on a gate operator than a national template accounts for. The mineral scale that builds up inside a gearbox here is a function of local water chemistry. Seals that survive a damp climate crack under our summer sun. This guide walks through what actually matters for a gate in Thornton: which lubricants hold up, how to catch slow hinge wear early, how to test limit switches as the ground shifts, and when a repair call makes more sense than another weekend of adjusting.
Styles & brands we work with
- Wrought iron
- Wood & steel frame
- Farm & ranch
- Sliding driveway gates
- LiftMaster operators
Quick Answer
A thorough gate maintenance checklist for a Thornton property covers lubrication matched to local water chemistry, twice-yearly limit switch travel tests, a wiring inspection focused on conduit exposed to freeze-thaw heave, battery backup testing on a schedule shorter than the manufacturer’s, and a photo log of hinge and roller wear. Done consistently, these checks catch the small failures that turn into motor or control board repairs. Most of it takes an afternoon twice a year.
Table of Contents
- Why a Thornton Gate Needs Its Own Checklist
- Lubrication: What Holds Up and What Doesn’t
- Testing and Documenting Limit Switch Travel
- Wiring Inspection for Freeze-Thaw Soil Movement
- Battery Backup Testing in a Swinging Climate
- The Photo Log Method for Tracking Wear
- Mechanical Checks: Hinges, Rollers, and Tracks
- Building Your Seasonal Calendar
- Common Mistakes to Avoid
- When to Call a Professional
- Frequently Asked Questions
- The Bottom Line
Why a Thornton Gate Needs Its Own Checklist
Thornton sits on clay-heavy soil that expands when it’s wet and contracts when it dries. Across a year, that cycle moves the ground under a gate post and the conduit running to it. A gate that was perfectly aligned in October can drag on its track by March. That’s not a manufacturing defect. It’s the ground doing what Adams County clay does.
The water matters too. Thornton’s municipal supply runs hard and alkaline, and that chemistry shows up in gate equipment the same way it shows up in a kitchen faucet. Mineral scale deposits inside gearboxes, on pivot points, and along exposed hardware if the lubricant in use isn’t matched to it. A general-purpose spray that works fine in a soft-water city can leave a film that traps those minerals instead of shedding them.
Then there’s the sun. Colorado’s UV index runs high through the summer, and UV degrades rubber seals, wire insulation, and plastic control enclosures faster than most product literature assumes. A seal rated for “outdoor use” may still crack within a few seasons here.
So a checklist built for a coastal property misses all three of these pressures. This one is built around them. We’re gate specialists, not generalists. Every job is a gate job, so we’ve seen how residential-grade operators like Ghost Controls and commercial units like DoorKing each respond to these conditions. Our technicians have up to 15 years of experience, and the patterns repeat.
Lubrication: What Holds Up and What Doesn’t
Not all lubricants are interchangeable on a gate, and the wrong one can do more damage than none at all. Under Thornton’s UV load and hard water, you want lubricants that resist oxidation, shed water, and don’t attract grit. Here’s how we think about it.
What to use
- Silicone-based lubricants on rubber seals, weatherstripping, and plastic pivot points. They don’t swell rubber and they don’t hold dust.
- Lithium complex grease on hinge pins, gate hinges, and heavy pivot bearings. It stays put under heat and pressure.
- Dry-film PTFE lubricant on slide-gate tracks and roller contact points. It goes on wet, dries to a film, and doesn’t collect the fine grit that blows in on a windy day.
- Dielectric grease on terminal connections and wire splices to slow corrosion and keep moisture out.
What to avoid
- Petroleum-based sprays on rubber components. They accelerate seal degradation, and under UV they break down into a sticky residue that traps grit.
- WD-40 as a long-term solution. As a quick water displacer it has its place, but it isn’t a lasting lubricant and it can wash out the grease that was doing the real work.
- Graphite powder near sealed bearings. It migrates into places it shouldn’t and dries out the grease inside.
- Any spray you haven’t read the label of. PTFE and silicone are labeled clearly. If you can’t tell what’s in it, don’t put it on a moving gate part.
Apply lubricant on a schedule, not on a hunch. Grease hinge pins and pivots twice a year. Silicone seals once in spring and once before the cold sets in. Clean the old lubricant off before applying new, because a layer of grit trapped under fresh grease accelerates wear on everything it touches. If the lubrication on this gate is what keeps it working, it’s worth doing correctly.
Testing and Documenting Limit Switch Travel
Limit switches tell the operator when the gate has reached open and closed positions. When the ground shifts, the gate’s travel changes too, and a limit switch that was set perfectly in fall can be slightly off by spring. Testing travel twice a year is how you catch that before the operator strains against a stop.
Two tests in one afternoon
- The open travel test. Open the gate fully. Watch the gate’s stopping point at the open position. It should stop cleanly and hold. If it hesitates, bounces, or creeps back, the limit is out of adjustment.
- The close travel test. Close the gate fully. Watch for the same clean stop. If the gate hits an obstruction or overshoots, you have a limit switch problem.
- Document the result. Note the date, which limit needed adjustment, and roughly how many turns it took. This record becomes your reference in six months.
If the gate is an automatic swing model from a brand like Elite or Viking, the limits live inside the operator housing and are adjusted with a small screw or an electronic setting, depending on the model. If the limits are electronic, record the actual value. If they’re mechanical, record the position relative to a mark you make with a marker on the housing. Either way, the documentation matters more than the test.
We’ve found that a gate in Thornton typically needs a limit adjustment once a year, in spring after the freeze-thaw cycle settles. Some settle faster and need it twice. Recording the dates shows you which category yours falls into.
Wiring Inspection for Freeze-Thaw Soil Movement
The wiring on an automated gate runs through conduit that sits in the ground. In Adams County’s clay soil, that conduit moves with every wet-to-dry cycle. The freeze-thaw heave is most severe at the shallow points where conduit rises from grade to enter the operator housing, or where it flexes at a junction.
What to inspect
- Conduit entry points. Look where the conduit meets the operator housing. The seal should be intact and the conduit should enter cleanly, not pulled at an angle.
- Exposed conduit runs. Any conduit above grade should be supported and secure. If it’s sagging or flexing, it will eventually stress the wire inside.
- Splices and terminations. Open the control enclosure and look at the terminal connections. Corrosion, greenish residue, or loose screws all indicate you’re losing electrical contact.
- The run along the gate path. If a wire runs along the gate’s travel, check that it hasn’t been pinched or abraded by a moving panel.
- Ground continuity. Confirm the grounding at the operator is still solid. Loose grounds are a common cause of odd control board behavior.
This is the inspection step where we most often find small problems before they become expensive ones. A wire that’s just starting to flex at a conduit entry can be re-routed. A wire that’s already broken inside the conduit requires digging. If you find damage, don’t ignore it. Electrical problems on an automated gate are a genuine safety concern, and we don’t recommend clearing them yourself. The wiring at the operator and the safety edges belong in the hands of a trained professional who understands both the circuit and the gate’s operating safety.
For anything beyond inspecting, that’s what our electric gate repair service is set up for. The full spectrum of automated gate problems – motors, control boards, sensors, and wiring – is work we handle directly.
Battery Backup Testing in a Swinging Climate
A gate operator’s battery backup exists so the gate still cycles when power fails. Batteries degrade faster in a place with 30-degree temperature swings between a summer afternoon and a cold night than they do in a stable climate. Manufacturer specs usually assume a milder average, so a real-world testing interval here should be shorter than the label suggests.
Testing schedule
- Every 90 days. Force a power interruption and confirm the operator completes both a full open and a full close cycle on battery power alone. Watch the speed. If it’s noticeably slower than normal, the battery is weakening.
- Every 6 months. Test the full cycle with the gate under normal load. A backup that cycles an empty gate but stalls under load is a backup that will fail when needed.
- Annually. Measure battery voltage at full charge and again under load. A drop of more than about 10 percent of rated voltage under load means the battery is reaching end of life.
- After any deep discharge. If the gate ran a long cycle on battery, retest within a week. The deep discharge shortens remaining life.
Write the readings down. A battery that reads 12.4 volts this year and 12.1 next year is telling you something. Replacing a backup battery is inexpensive compared to replacing a control board that a weak battery subjected to repeated low-voltage cycles. If you’re not comfortable testing the power interruption, a technician can do this in a few minutes as part of a maintenance visit.
The Photo Log Method for Tracking Wear
Most homeowners face the repair-or-replace decision with no data. A gate “feels worn.” Hinge wear is called “getting worse.” Without a record, the decision comes down to memory and gut feeling, and memory is bad at measuring slow change.
A photo log solves that. It’s the same principle an insurance adjuster uses with a car. You’re creating a factual record of wear over time so you can make a repair or replacement decision on evidence.
How to build a photo log
- Pick fixed reference points. Mark four points on the gate: the top and bottom hinge pins on the latch side, the top and bottom of the wheel or roller assembly. Use the same reference points every time.
- Use a consistent frame. Stand in the same spot with the same lighting and take the same framing every visit. Notes are useless if the photos aren’t comparable.
- Include a size reference. A coin or a small ruler taped near the wear point makes differences visible.
- Label with the date. Photo, date, and operator brand in the filename. Six months of consistent photos will show a pattern.
- Review at the annual comparison. Put the oldest and newest side by side. A pin that’s lost a millimeter of diameter is a pin approaching replacement. A pin with no measurable change is a pin to keep watching.
The same log works for rollers, track wear, and any visible rust or seal degradation. When you do call for gate repair, you’ll arrive at the conversation with evidence. That makes the repair-versus-replace call faster and more accurate, whether the gate is on a residential-grade Ghost Controls operator or a higher-cycle DoorKing system.
Mechanical Checks: Hinges, Rollers, and Tracks
Mechanical components wear in a predictable order. A complete pass through them takes about 20 minutes.
Swing gates
- Lift the free end of the gate roughly an inch and check the top hinge. Play here is normal in small amounts and abnormal when it exceeds about an eighth of an inch.
- Inspect every hinge pin for play and lateral movement. Run the gate by hand through its full arc and feel for binding or a change in resistance.
- Check the post anchor bolts for looseness. A post that has moved with the soil will show in the gate’s arc, not the hardware.
- Check the gate stop. The gate should meet it firmly without slamming.
Slide gates
- Roll the gate by hand. It should move with consistent resistance along its entire path. If it hangs or binds at one end, either the track has settled or the gate has gone slightly out of square.
- Inspect the track for a buildup of grit, leaves, and debris. Sweep it clean. A slide gate track is the single component most affected by everything that blows into it.
- Check the rollers for flat spots or wobble. A flat-spotted wheel makes the whole gate cycle harder.
- Confirm the gate can’t come up off the track. This is a safety check. A heavy sliding panel that comes off its track can crush.
Tighten, don’t over-tighten
Loose hardware should be snugged, not cranked. Over-tightening stretches threads, cracks welded brackets, and won’t hold any better. Use a wrench that fits cleanly and stop when the bolt is firm.
Building Your Seasonal Calendar
A checklist is only as useful as the habit behind it. Here’s how to lay out a year in a way that catches Thornton’s seasonal pressures.
- Early spring. After the last freeze, inspect for ground movement. Test both limit switches. Inspect conduit at grade. Check the gate’s swing or slide path for new binding. Clean and re-lubricate track contact points.
- Late spring. Full mechanical inspection. Battery backup test under load. A photo-log entry at all four reference points.
- Summer. Silicone seals and rubber components are under peak UV. Inspect for cracking and sun damage. Clean and reapply.
- Early fall. Second limit switch test before cold sets in. Verify the battery holds a charge. Grease hinges and pivots for the winter.
- Before first freeze. Confirm the control enclosure is sealed and water can’t pool near conduit entries. Check the gate stop and safety edges.
- Mid-winter. Visual inspection only. Keep the track clear of snow and ice buildup.
That’s six touchpoints. Two of them are a full pass. The rest are short observations. If you keep a written record at each one, you’ll see patterns before they become problems.
Common Mistakes to Avoid
- Using a petroleum-based spray on rubber seals. It looks like it’s protecting the seal while it accelerates rubber degradation. Check labels, and in this sun, err toward silicone.
- Replacing the battery based on age alone. Test it first. A battery that passes a full-load cycle is still doing its job, regardless of how old the label says it should be.
- Adjusting limit switches without documenting the starting point. If the adjustment is wrong, you need to know where you started to get back. That’s a photo and a note before you touch a screw.
- Ignoring conduit that’s pulling at an angle from grade. It’s the earliest indication of soil movement, and it costs almost nothing to fix at that stage.
- Assuming a “feels worn” gate needs replacement. Slow wear is usually a repair. The photo log tells you which.
- Skipping a battery test because the gate works fine. The battery is only used when the power fails. You won’t know it’s failed until you need it.
- Running the gate after a track or roller has failed. A gate that has come off its track should not be cycled. Heavy sliding panels that come off the track are a crush risk, so call for a professional rather than trying to lift it back on yourself.
When to Call a Professional
Most of this checklist is safe to do yourself. Some of it isn’t. Wiring at the operator, the safety edges, and any electrical diagnosis inside the control enclosure are tasks we’d rather you didn’t handle alone. A mistake there can damage equipment or put someone at risk. Heavy panels that won’t stay on their track, a motor that grinds or hums without moving, and any repeated control board fault are all signals to stop and call.
So is a repair-versus-replace decision you’ve been putting off. When the photo log shows real hinge wear and the annual check fails twice, the right call is a professional’s opinion, not another adjustment. Gate Repair Thornton is gate repair, electric gate repair, and gate installation, and nothing else. We work on Viking, Ghost Controls, DoorKing, and other leading systems. Our technicians have up to 15 years of experience, and we can diagnose and repair virtually any system without sending you elsewhere.
Gate Repair Thornton offers free estimates in Thornton. Call (866) 389-4610. We answer 24/7. Fast dispatch from 7am to 7pm, Sunday through Friday.
Frequently Asked Questions
Twice a year for a full pass, plus short inspections in summer and before the first freeze. Thornton’s freeze-thaw soil movement and high-UV summers put more strain on gate hardware than a mild climate does, so a twice-yearly full check catches problems earlier. The most important visit is the spring check after the ground settles. Call (866) 389-4610 for an exact quote on a service visit, and estimates are free.
Lithium complex grease on hinge pins and pivots, dry-film PTFE on slide tracks and rollers, and silicone on rubber seals. These resist breakdown under high UV and shed the mineral content in hard water instead of trapping it. Avoid petroleum-based sprays on rubber components, since they speed up seal degradation. Call (866) 389-4610 if you’re not sure which components need which product – estimates are free.
Because the ground beneath it moves with the seasonal wet-dry cycle. Adams County clay expands when wet and contracts when dry, which shifts the gate’s travel slightly. Twice-yearly testing catches the shift before the operator strains against a hard stop. Call (866) 389-4610 if your gate is hitting a stop or overshooting – estimates are free.
The mechanical pieces of the checklist, yes. The electrical side, no. Wiring, control boards, safety edges, and the operator’s power circuit are work for a trained professional. A mistake there can damage equipment or create a hazard on a gate that’s meant to keep people safe. Call (866) 389-4610 for electric gate repair – estimates are free.
Replacement is warranted when the operator’s control board fails repeatedly after repair, or when the gate frame has lost structural integrity. Most other failures – motors, hinges, rollers, sensors, and wiring – are repair jobs. A photo log of wear over time makes the distinction much clearer. Call (866) 389-4610 and we’ll give you a written estimate on both options – estimates are free.
We work on virtually any system, with deep experience across Viking, Ghost Controls, DoorKing, Elite, LiftMaster, FAAC, BFT, Linear, and Mighty Mule. That range covers residential-grade operators and high-cycle commercial systems alike. If you’re in Thornton and aren’t sure whether we handle your operator, call (866) 389-4610 – estimates are free.
The Bottom Line
A gate built to survive in Thornton needs maintenance built for Thornton conditions. Freeze-thaw soil movement affects limits and conduit. Hard water affects gearboxes and pivots. UV affects every rubber component on the gate. The checklist that protects against all three is lubricant matched to the conditions, twice-yearly limit switch testing with documentation, a wiring inspection focused on exposed conduit, battery testing on a 90-day cycle, and a photo log that gives you real data on slow wear. Every check is short. Every one prevents an expensive repair. Do the mechanical work yourself, and call us for the electrical side.
Ready to schedule a maintenance visit or get a second opinion on a repair decision? Call (866) 389-4610 for a free estimate. We answer 24/7. Fast dispatch from 7am to 7pm, Sunday through Friday.
Written by the team at Gate Repair Thornton.
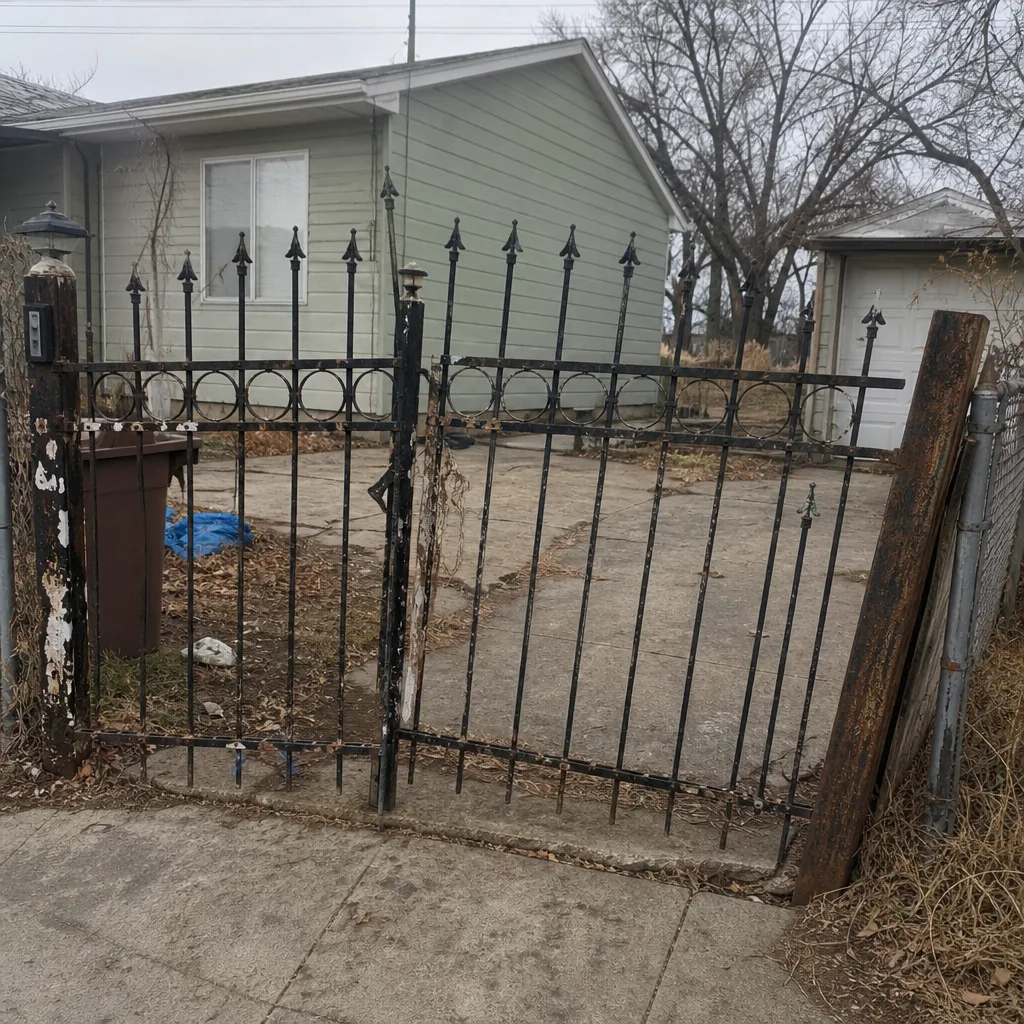
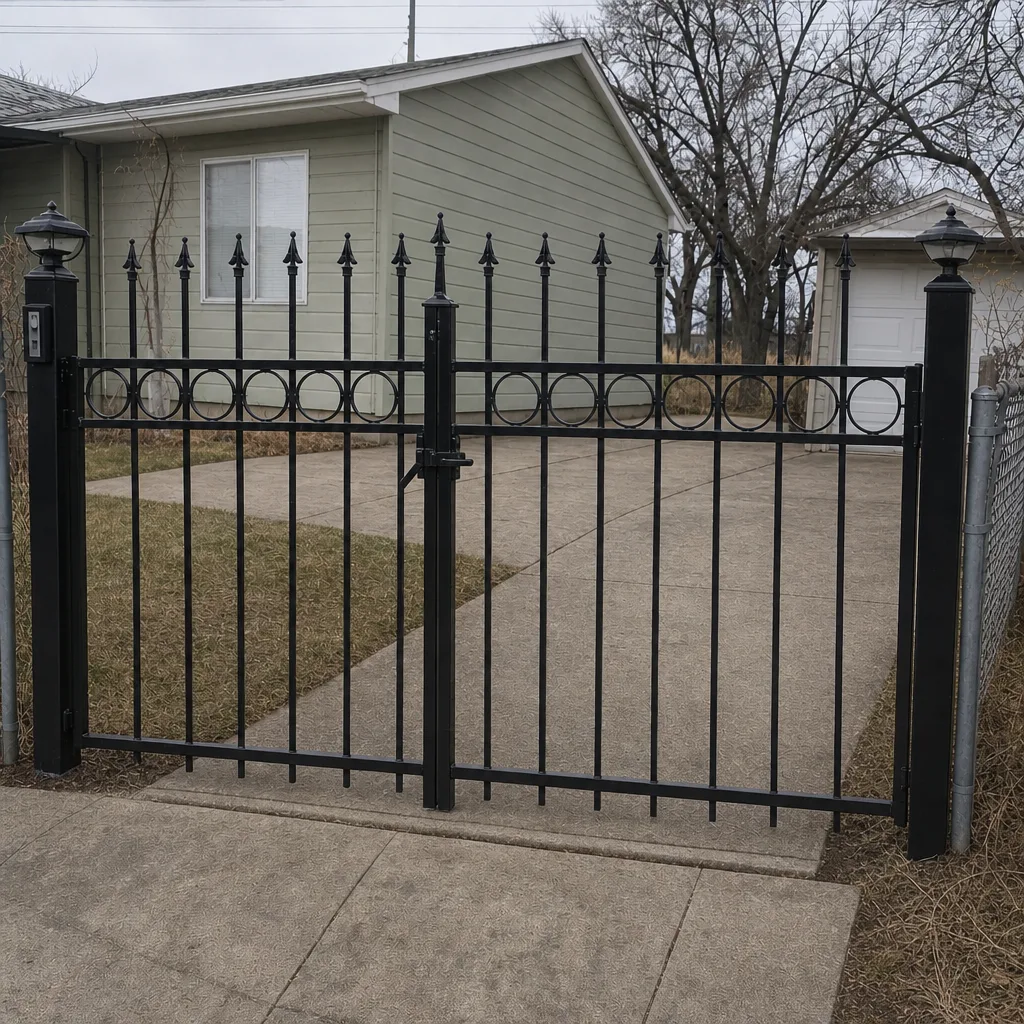
See the difference
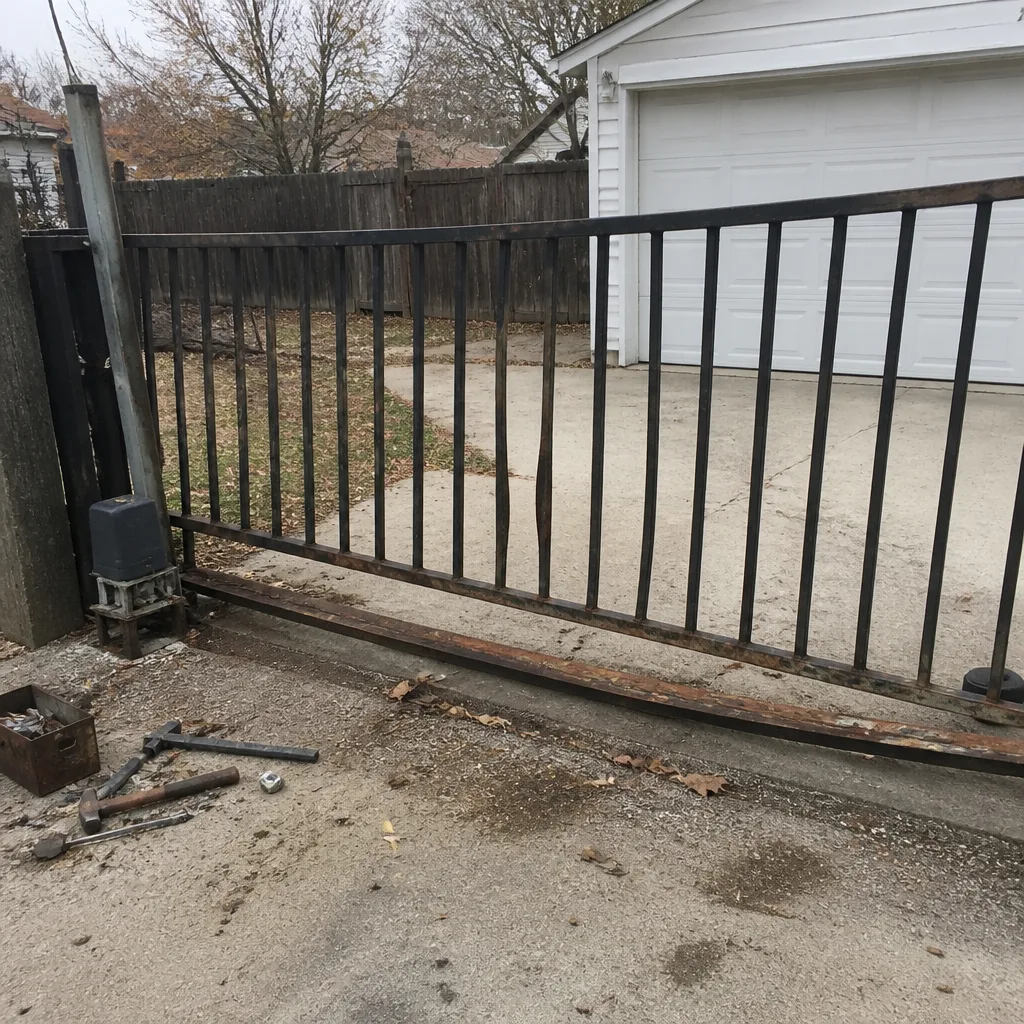 Before
 After
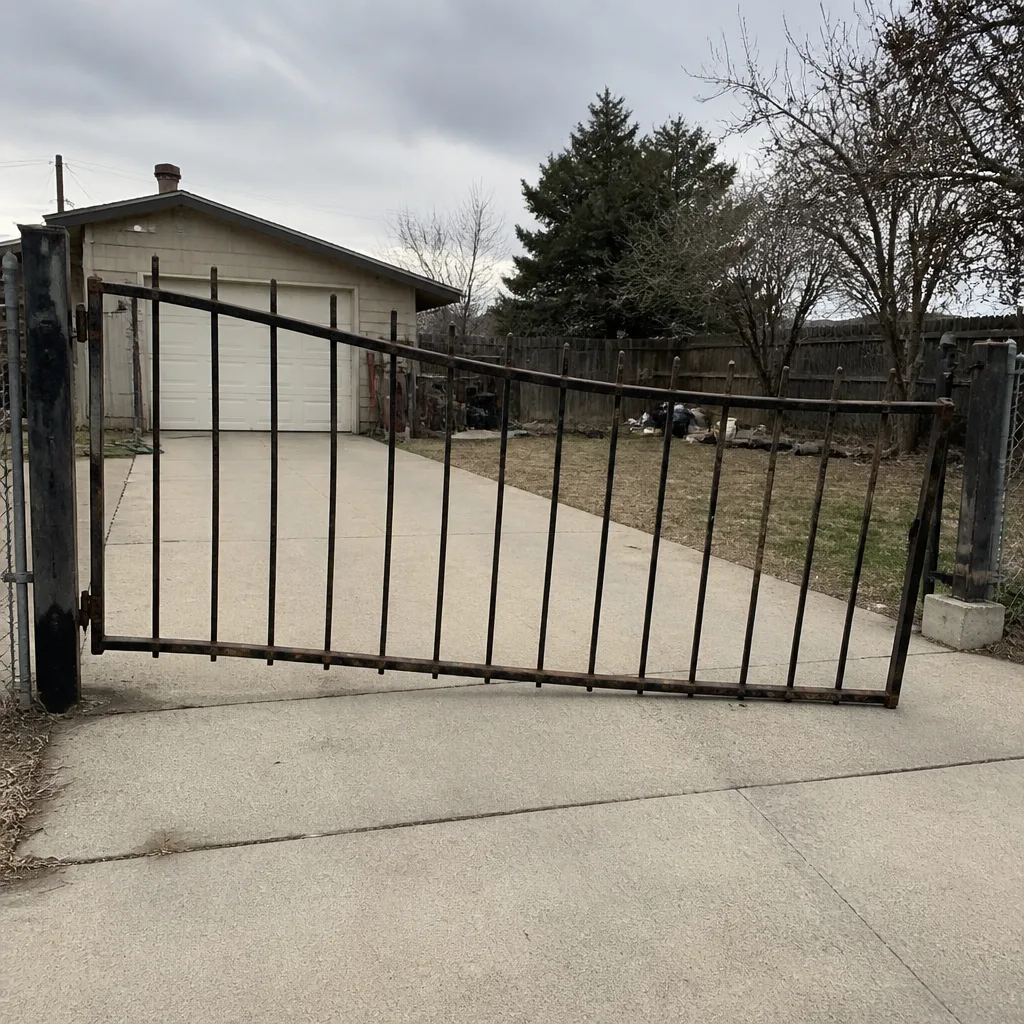
 Before
 After
 Before
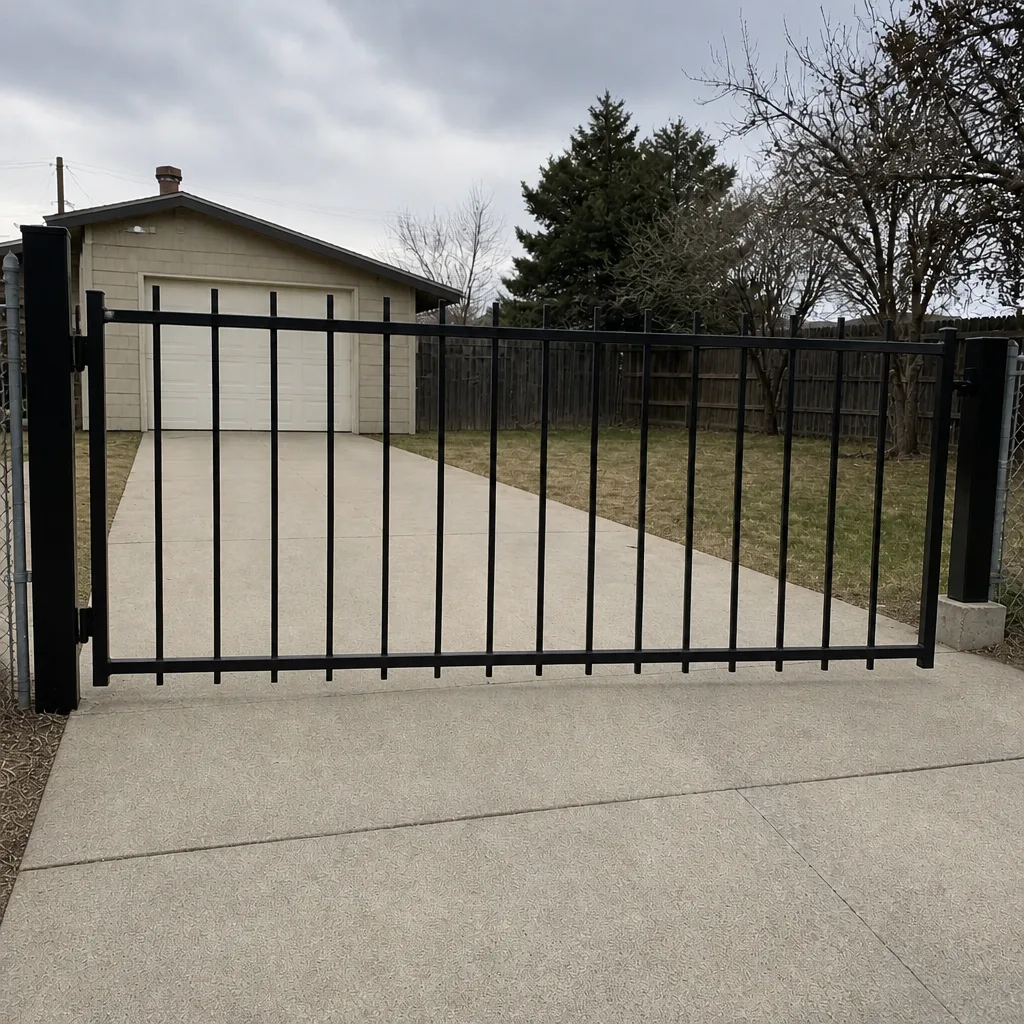 After